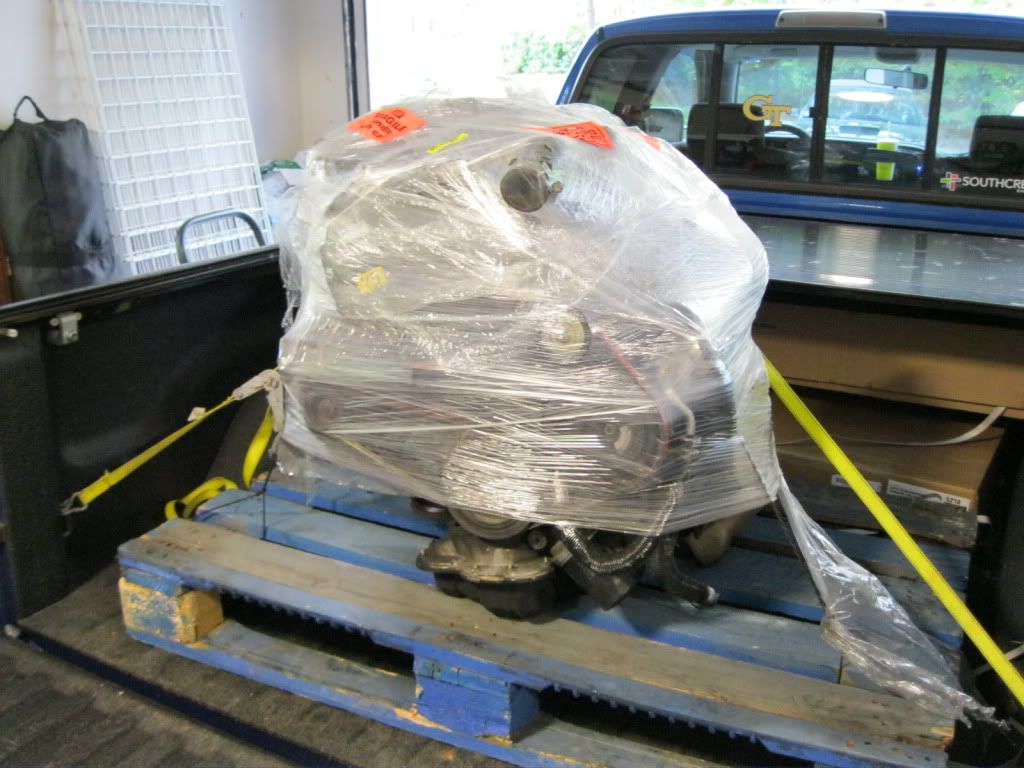
 The has engine finally arrived and man is it clean. Below is how it looked when I got it from the freight terminal and into my truck.
 Read more to see the progress I have made.
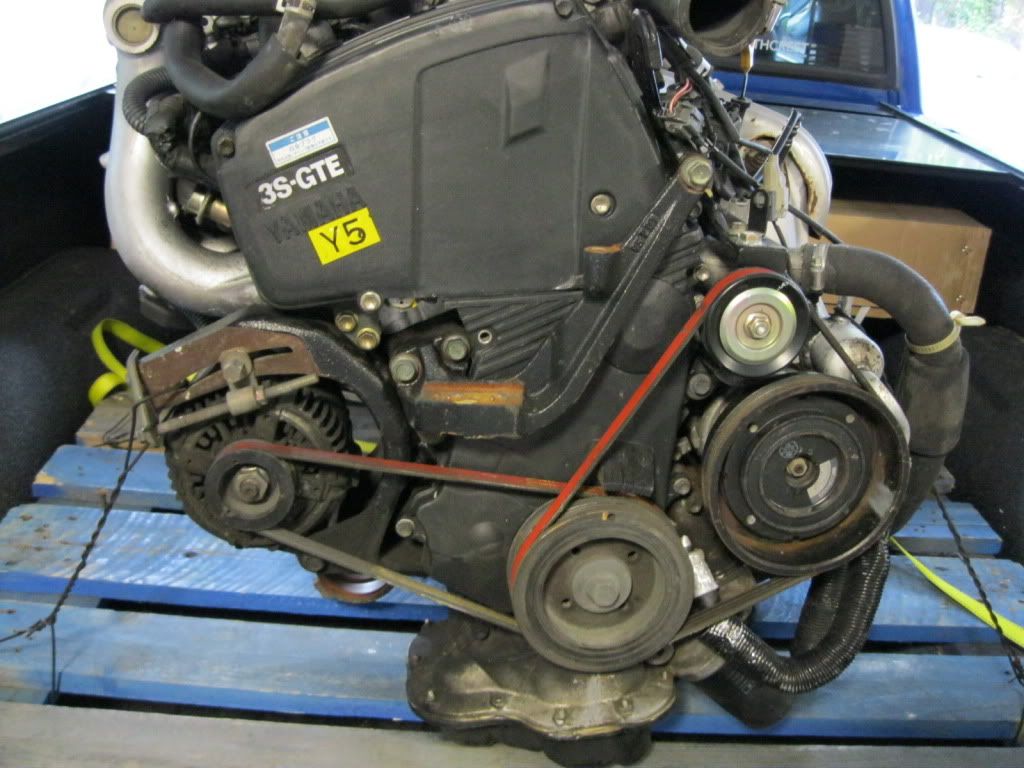
It was wrapped well and I could find no damage at all. It was wired in four places to the pallet so that it would not move during shipment. On top of that, I strapped the engine down to my truck bed. After unwrapping and checking to make sure everything was there, I cut all of the wires and unloaded it.
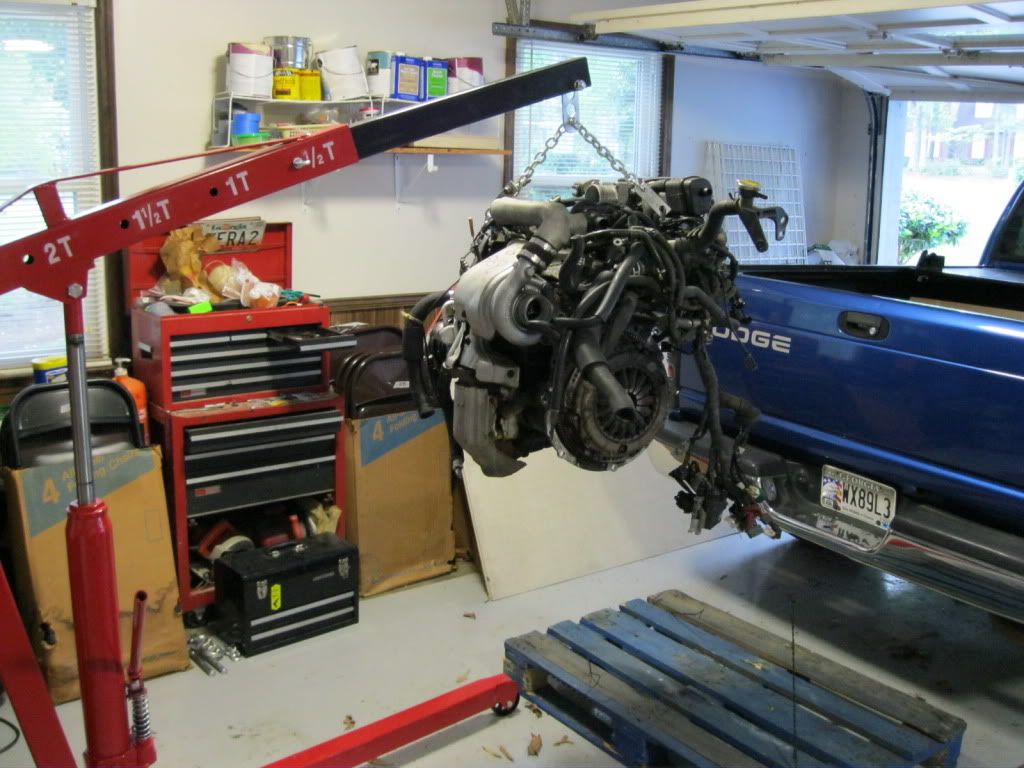
Also, another reason for me purchasing the engine hoist was so that I could get the engine out of my truck. I'm not sure I would want to attempt to lift/slide this pallet out even with the help of a friend.

I also purchased and received a majority of the maintenance parts and got to work on installing them. The parts pictured to be replaced are
Timing belt
Water Pump
Oil pump O-ring
Oil Pump Shaft Seal
Crank Shaft Seal
Both Cam Seals
Both Valve Cover Gaskets and Spacers
Thermostat with Seal
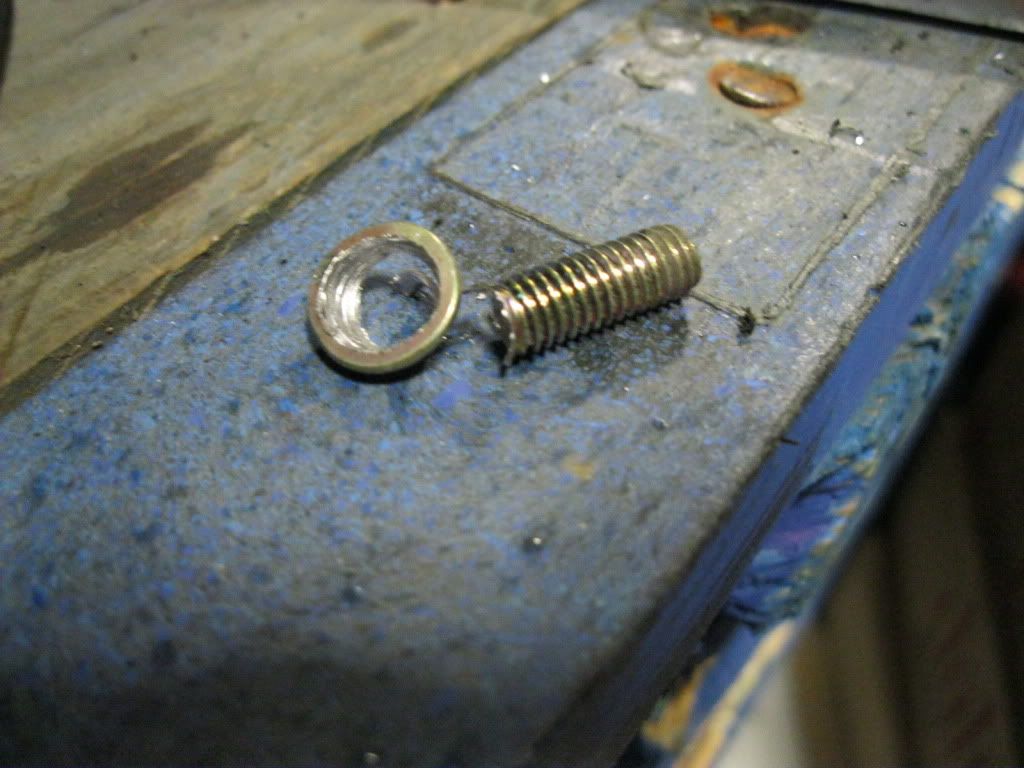 After working for an hour or so I realized that I also needed a couple more parts. Because of this I had to quit work on the engine as far as replacing parts. I was only able to put in the new Thermostat and Seal along with the Water Pump and Seal. I had to drill out the screw on the old water pump because it stripped very easily. After some research, I discovered that it is common to have to drill the head off of the screw to remove the water pump. Once I drilled the head off of it, the shaft easily unscrewed from the block. Obviously I will be needing a new replacement screw for the new water pump. Once I get that I can continue with the Timing Belt change.
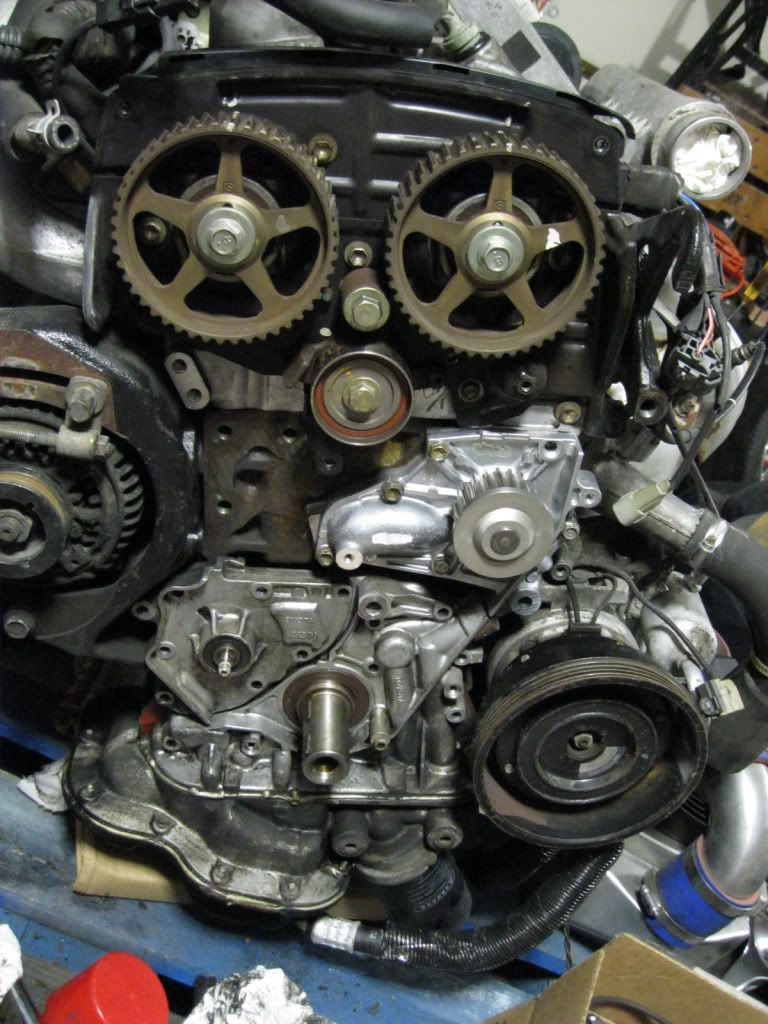
Here you can see the new water pump installed without the screw. I also made a quick effort to clean off the oil pump. It did have some build up which is why I decided to buy the gasket that sits between the pump and the block. Because I need to wait for the gasket to arrive, I did not want to spend the time to remove the oil pump as this involve loading the engine onto an engine stand and removing both the upper and lower oil pans. Speaking of engine stands, I received $40 in gift certificates from Summit Racing Equipment and used them to buy and engine stand to make changing the oil pump seals easier. Perfect timing right?
The last bit of work was to remove the clutch and flywheel. I will be reusing the ACT that I had installed on the gen2 during the transmission swap. I only put roughly 1000 miles on the clutch before the engine blew. I will also be dropping off the flywheel to be resurfaced.
That is all for now. I'm waiting on the parts to arrive in the mail before I can continue. I won't be working on the car for the next two weeks due to final exams. After that I'll be spending a lot of time with the car. Here is a list of tasks left to complete
-receive parts in the mail
-mount engine to stand
-remove oil pan and oil pump and replace seals
-put final screw on water pump
-replace cam seals and check cam timing
-install new timing belt
-install new valve cover gaskets, ignition cap and rotor, and spark plugs and wires
-install ACT clutch
-mate engine and transmission
-install the engine after painting the engine bay
I took many pictures but only showed a few. You can view the full gallery of my gen3 swap progress here.
No Underdrive Pulley Kit?
ReplyDeleteI'm not a big fan of UD pulleys. Plus the budget is very tight. I'm only going over budget for maintenance items that would be hard to get to once the engine is installed. That's why I bought an oil pump gasket. It looked a little grimey so I went ahead and ordered one. I didn't mind waiting for one to come in the mail, especially since I already had to wait on the water pump screw.
ReplyDelete